Small Kitchen Remodeling Ideas That Maximize Space
The most effective small kitchen remodeling ideas don’t make your kitchen look bigger; they make it work better. Better storage, smarter layout, and finishes that reflect light can transform a cramped galley into a kitchen you actually want to cook in, without touching a single load-bearing wall.
Most Bay Area homeowners working with kitchens under 150 square feet can see dramatic results through a combination of custom cabinetry, strategic lighting, and layout refinements, with or without a full gut renovation.
If you’re starting from scratch or deciding which changes to prioritize, this guide walks through the ideas that deliver the most impact per dollar spent.
Key Takeaways
- Layout matters more than square footage.
- Custom cabinetry maximizes every inch in non-standard spaces.
- Permits are required for most meaningful kitchen changes in California.
- Vertical storage is the most underused resource in small kitchens.
- Light colors and reflective surfaces visually expand a small kitchen.
1. Extend Cabinets to Ceiling Height
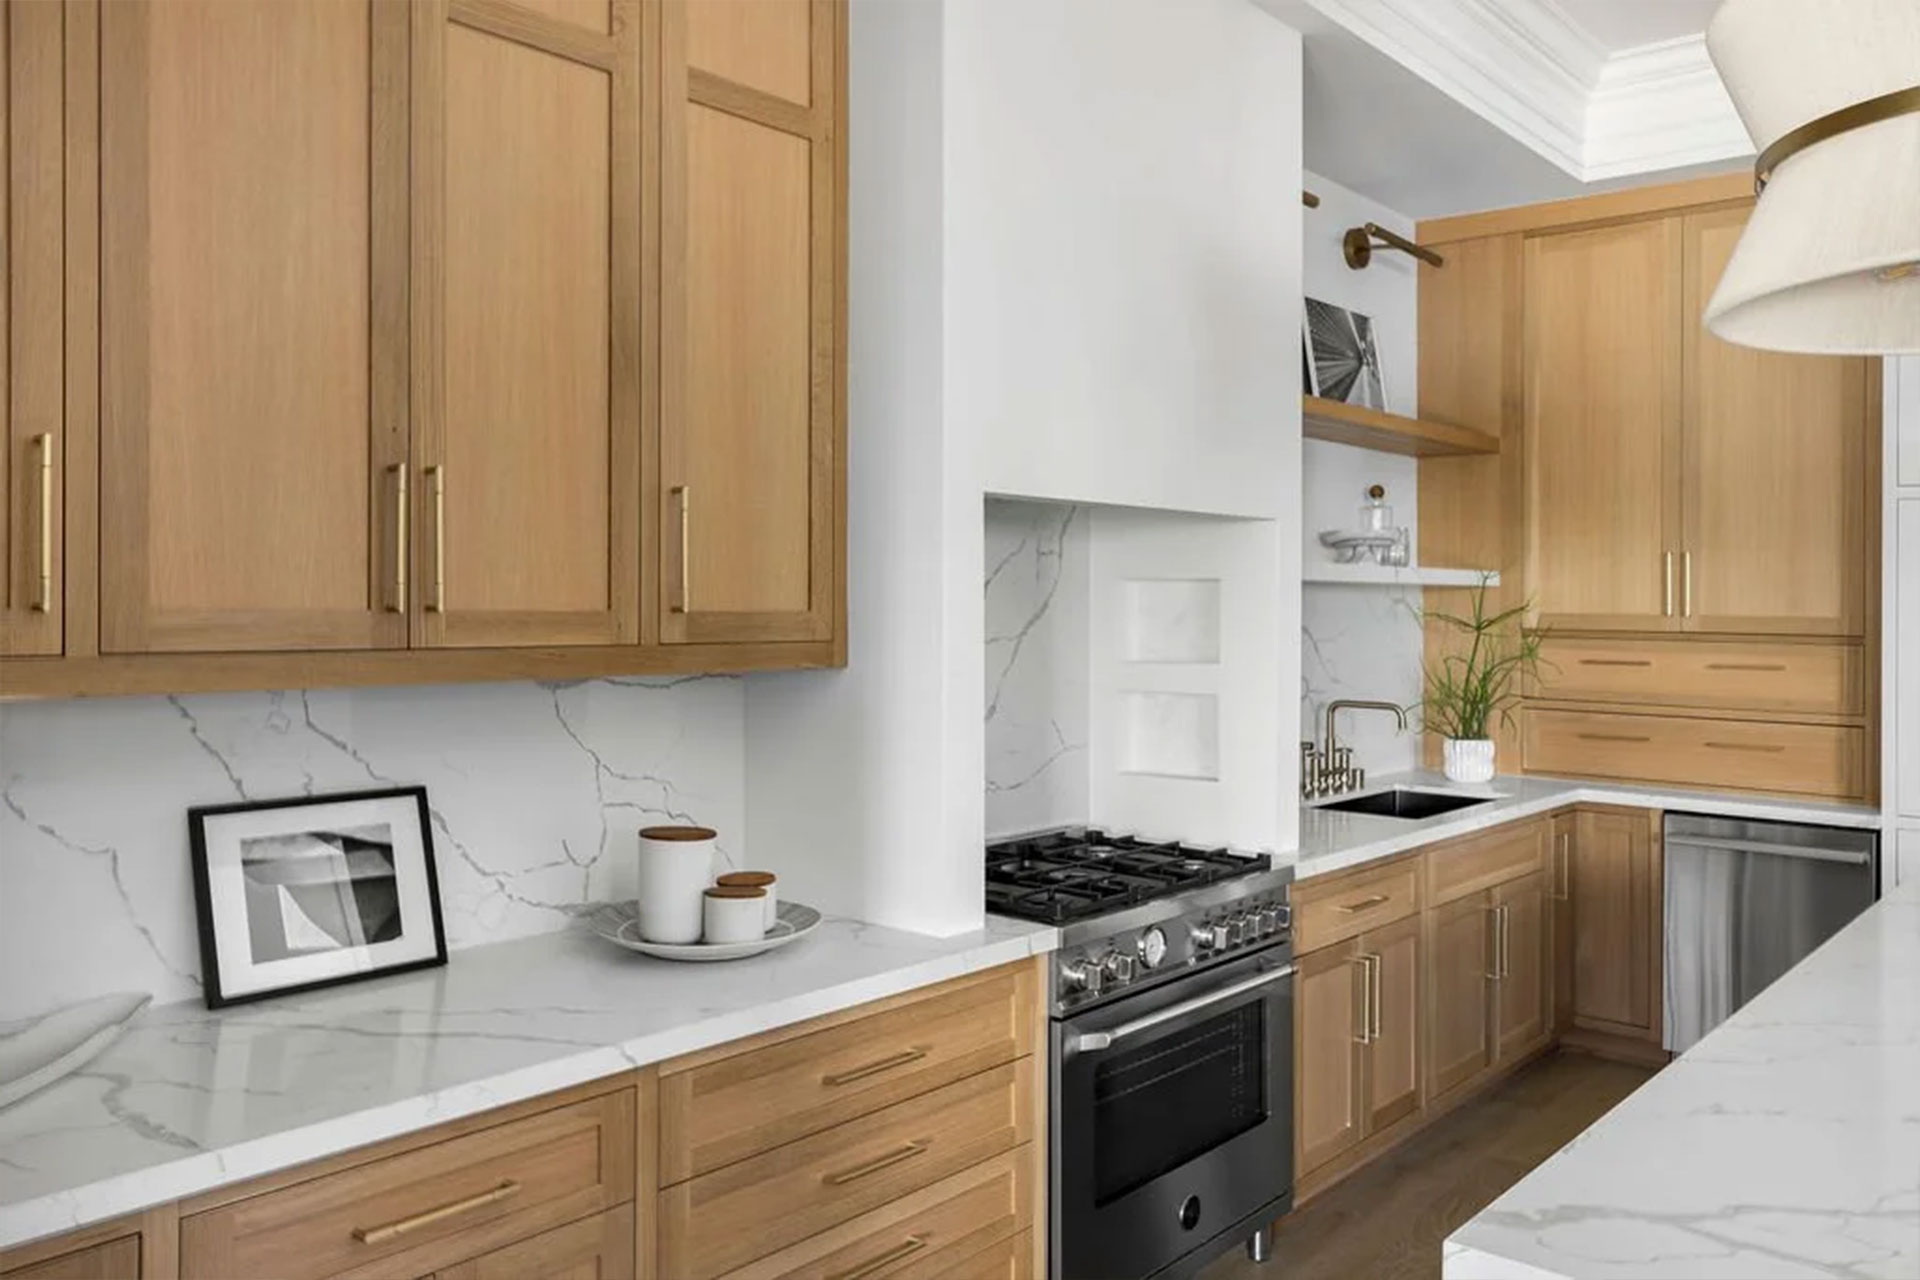
This is the single highest-impact change you can make in a small kitchen. Most stock cabinets stop at 7 feet, leaving 1–2 feet of dead space between the top of the cabinets and the ceiling. That gap collects dust and does nothing for storage.
Ceiling-height cabinetry running all the way to the 8- or 9-foot ceiling adds substantial storage without using one additional square foot of floor space. In a 10-foot-wide kitchen, extending cabinets to ceiling height can add the equivalent of an entire cabinet run.
For Bay Area homes with irregular ceiling heights or soffits (common in post-war construction), custom millwork is the only reliable approach. Stock cabinets don’t accommodate 9’2″ ceilings or angled soffits. A custom cabinet maker builds to the actual dimensions of your kitchen, not a standard module size.
What to budget: According to Forbes Home, custom ceiling-height cabinetry in the Bay Area runs $800–$2,500 per linear foot depending on wood species, finish, and hardware. It’s not cheap. It’s also not the kind of thing you do twice.
2. Replace Upper Cabinets With Open Shelving (Selectively)
Open shelving is everywhere in kitchen design content and the advice is often oversimplified. Replacing all upper cabinets with open shelves trades storage for aesthetics and creates ongoing maintenance. Replacing some upper cabinets with shelving is a different story.
A well-placed run of 2–3 floating shelves in a small kitchen does three things: it opens up visual space, reduces the sense of enclosure that solid cabinet doors create, and gives you accessible storage for everyday items. Keep enclosed cabinets for items you don’t want on display. Use open shelves for dishes, glasses, and things you reach for daily.
In terms of materials, floating shelves in solid wood or thick walnut look substantially better than box-store versions. The thickness matters; a 1.5″ thick shelf reads as furniture; a 3/4″ shelf reads as an afterthought.
Permit note: Shelving installation doesn’t require a permit in most cases. If you’re removing upper cabinets and patching or refinishing the wall behind them, that’s cosmetic work only.
3. Rethink the Layout Before Touching a Single Cabinet
Most small kitchen remodels fail not because of bad finishes, but because of a layout that was never right to begin with.
The three most common small kitchen layouts are the galley, the L-shape, and the U-shape. Each works differently depending on your specific dimensions and how you move through the space. A galley kitchen with 36 inches between counters works efficiently. The same galley with 42 inches works better. With 54 inches, it starts functioning like two separate workstations with dead space in the middle.
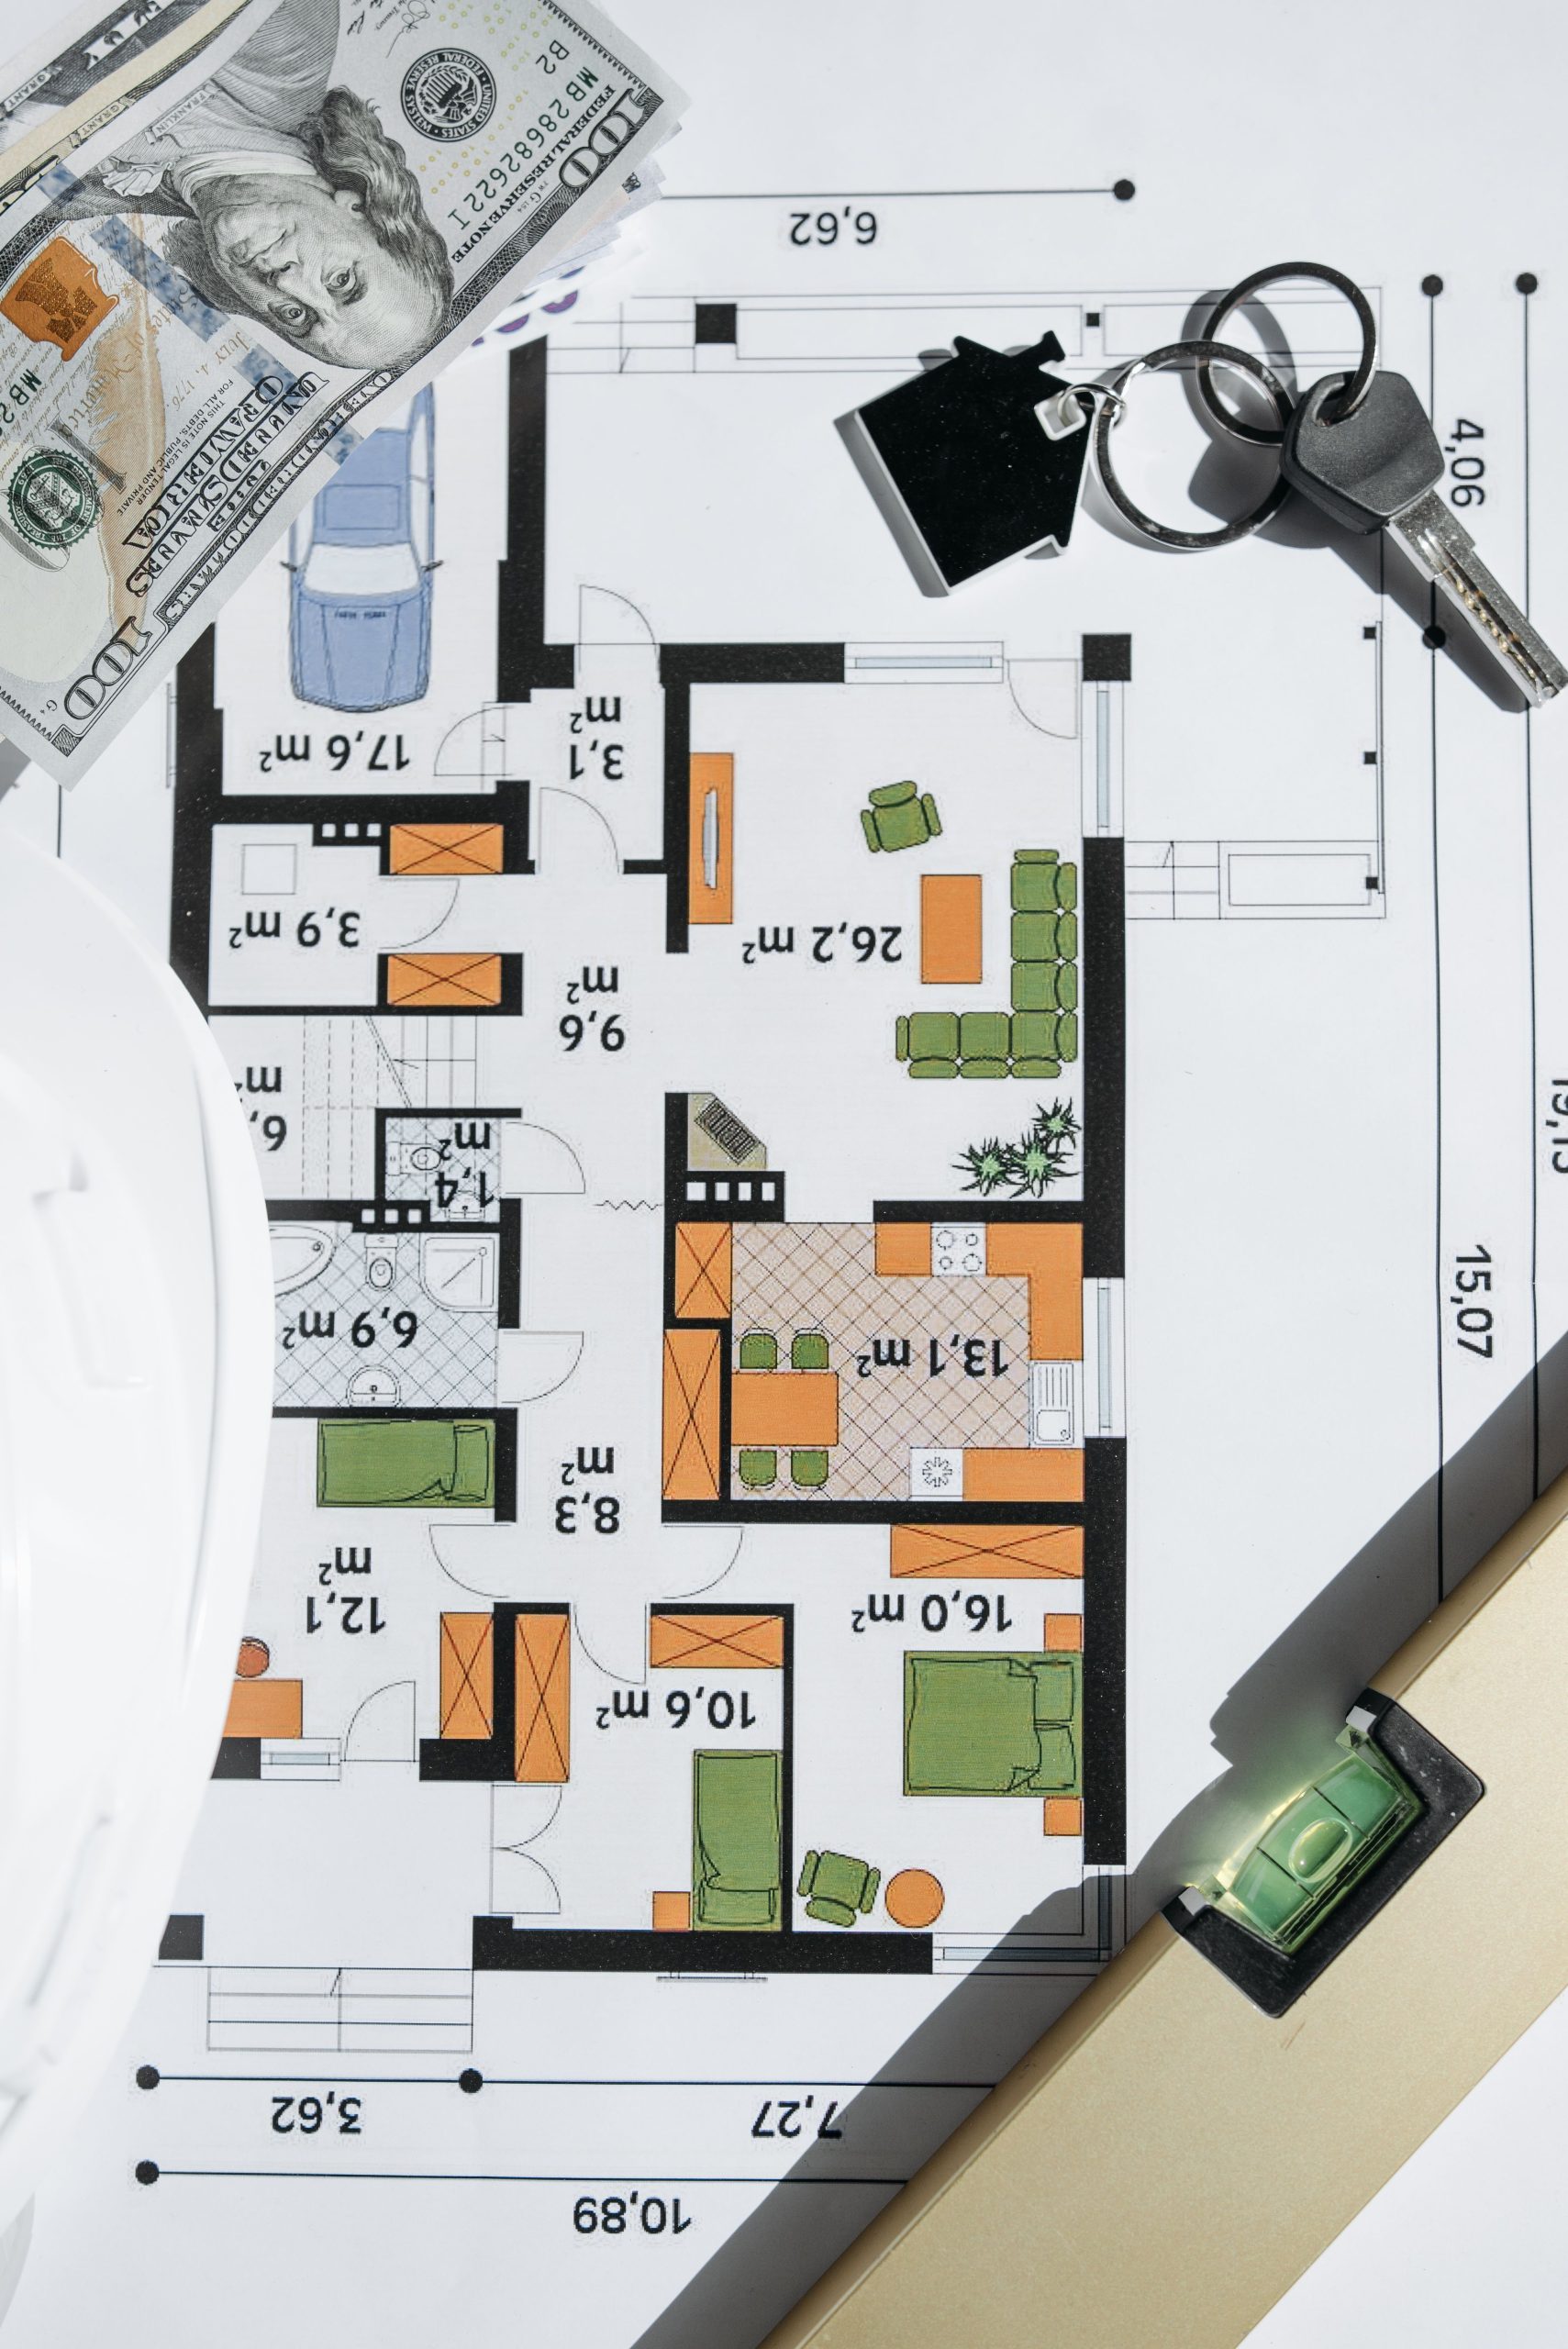
Before committing to any cabinetry, appliances, or finishes, get a design and drafting review of your current layout. In many Bay Area kitchens — especially older Craftsman and Victorian homes — the existing layout was designed around appliances that no longer exist and workflows that no longer apply. A professional layout analysis costs a fraction of what a wrong layout costs to correct after installation.
Greenport Designs provides design and drafting services as part of its full kitchen remodel process. This is where the real space gains happen before a single cabinet goes in.
4. Add an Island — or a Rolling Cart
A fixed kitchen island works in small kitchens only when the clearance is right. The minimum recommended clearance around an island is 42 inches on working sides, 36 inches on non-working sides. Anything less and the island creates congestion rather than solving it.
If your kitchen has the clearance, a well-sized island adds prep surface, storage underneath, and often seating, three problems solved with one fixture. If it doesn’t, a rolling butcher-block cart delivers most of the same benefits with none of the permanence. You can move it when you need the floor space, tuck it against a wall when you don’t.
Fixed islands require a permit if they include plumbing (prep sink) or electrical (outlets, under-island lighting). Rolling carts, no permit required.
5. Install Under-Cabinet Lighting
This is the most underrated upgrade in a small kitchen. Under-cabinet lighting doesn’t just improve visibility; it changes the entire feel of the space. It creates depth, illuminates the countertop work surface, and makes the kitchen feel larger by separating the upper and lower elements visually.
According to Angi, LED strip lighting under cabinets runs $200–$600 in materials for an average kitchen. Hardwired fixtures look cleaner than plug-in versions and add value at resale. The electrical work requires a licensed electrician and, in most Bay Area jurisdictions, an electrical permit if you’re adding a new circuit.
The payoff relative to cost is higher here than almost anywhere else in a kitchen remodel. If you only do one thing to a small kitchen, make it better lighting.
6. Go Floor-to-Ceiling With a Single Bold Tile
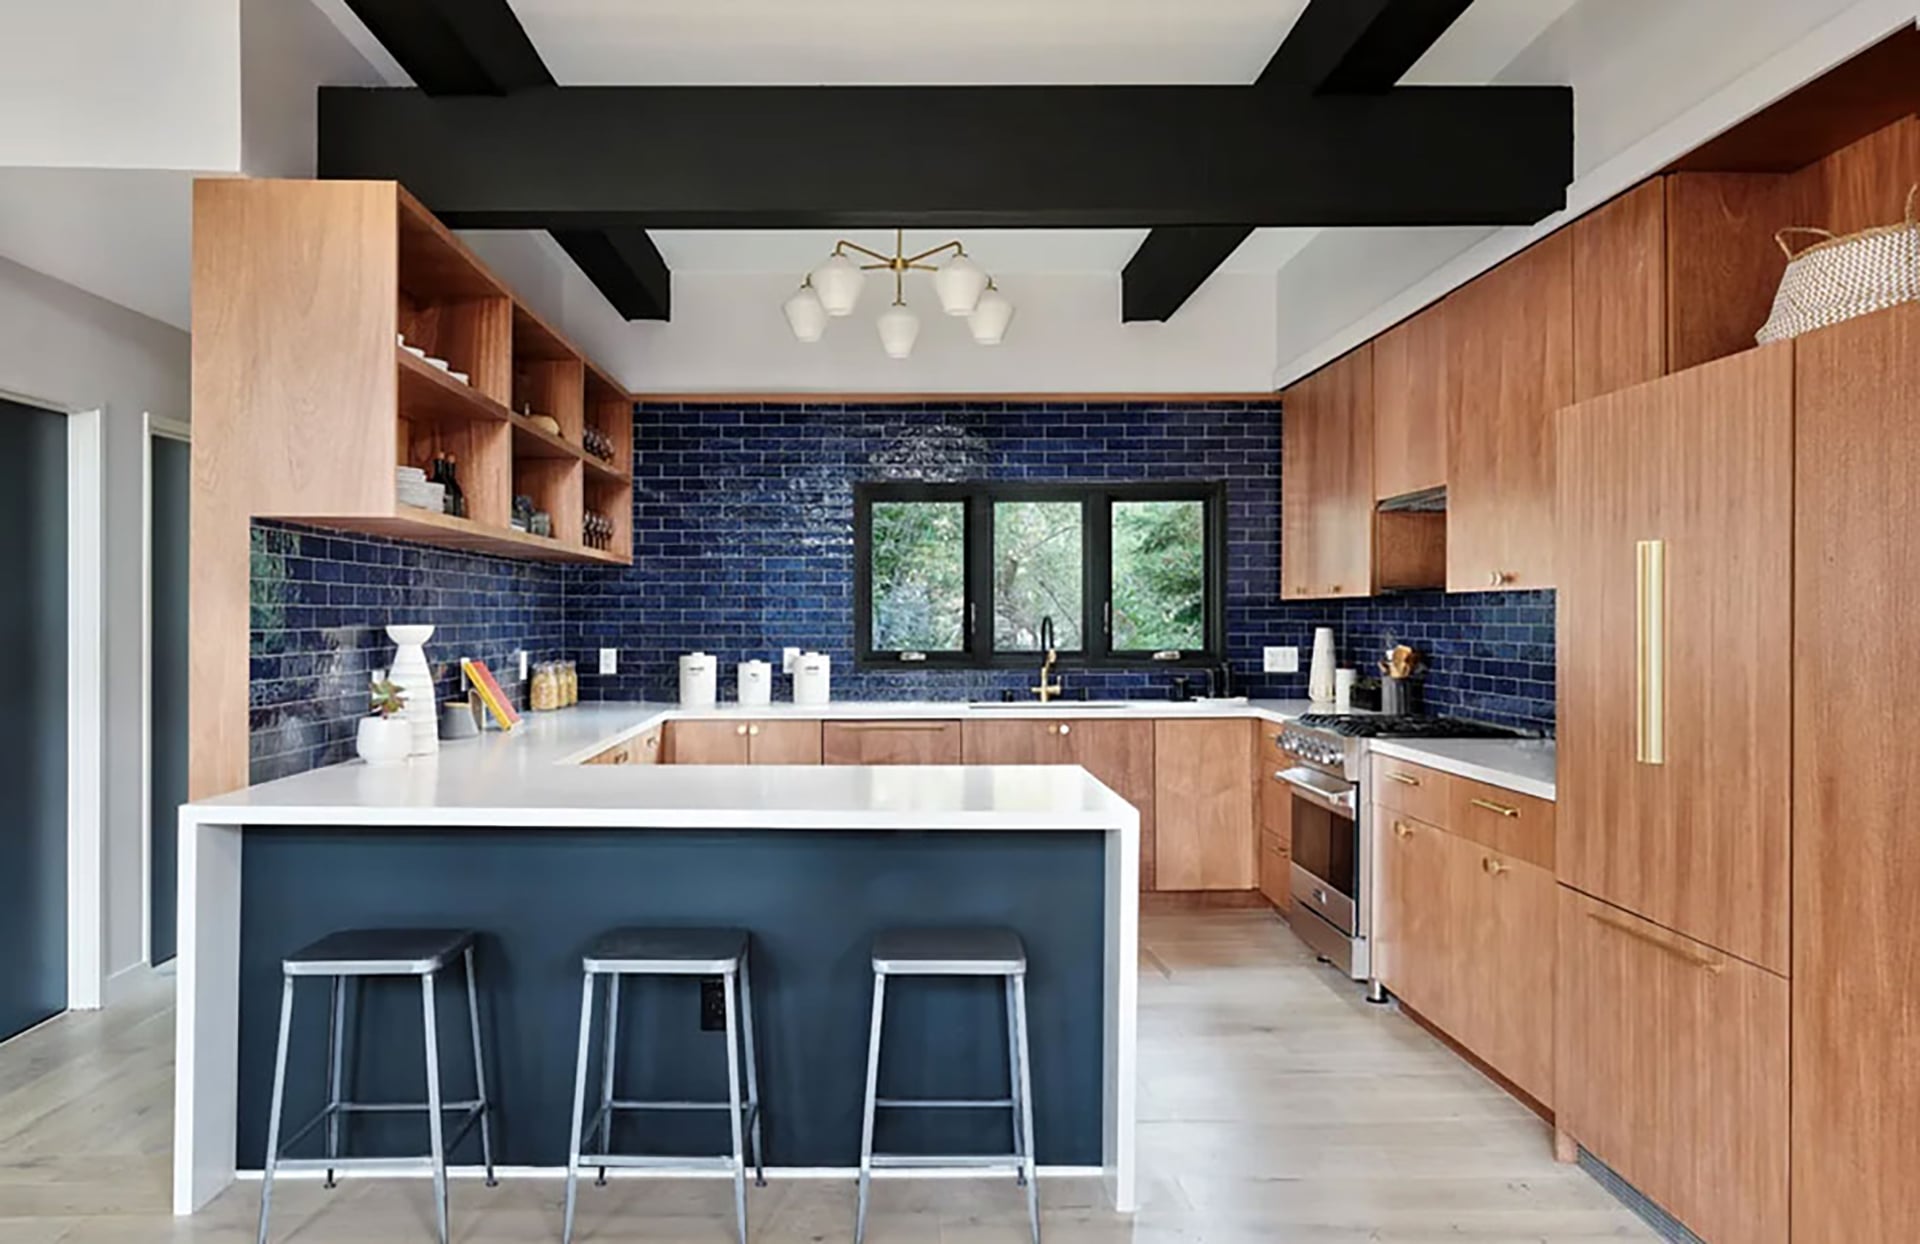
In a small kitchen, a single material used consistently and boldly reads as intentional, and makes the space feel larger and more cohesive. One of the most effective techniques is running a subway tile, zellige, or handmade ceramic from countertop to ceiling on the backsplash wall, rather than stopping at the bottom of the upper cabinets.
The result is a feature wall that draws the eye upward, adds texture without adding visual clutter, and eliminates the awkward transition zone between the backsplash and the wall above the cabinets.
Tile installation in the Bay Area runs $15–$35 per square foot installed, depending on tile type and pattern complexity. A herringbone or vertical stack pattern adds $3–$6 per square foot in labor over a straight horizontal set.
7. Replace Cabinet Doors Without Replacing the Boxes
If your cabinet boxes are structurally sound, no water damage, no warping, square and plumb, you don’t necessarily need to replace them. Refacing or replacing just the doors and drawer fronts delivers 80% of the visual impact of a full cabinet replacement at 40–60% of the cost.
This works best when:
- The cabinet layout is already working well
- The existing box dimensions work with the hardware and door styles you want
- You’re not changing the layout
It doesn’t work when the cabinet boxes are damaged, poorly positioned, or undersized for your needs. A contractor assessment before committing to a door-only replacement takes 30 minutes and saves the mistake of investing in a partial fix for a structural problem.
8. Add a Deep Pantry Pull-Out Where a Cabinet Once Was
One of the highest-ROI storage improvements in a small kitchen: converting a standard 12-inch-deep base cabinet into a full-depth pantry pull-out. A pull-out pantry in the same cabinet footprint stores 3–4 times more than fixed shelves, because you can see and access everything without reaching to the back of the cabinet.
Pull-out pantry systems range from $200 builder-grade inserts to $1,200 custom-built versions. In Bay Area kitchens where every inch counts, the custom version, built to the exact depth and height of your cabinet opening, is almost always the better investment.
This is a millwork decision. Generic inserts fit generic cabinets. If you have non-standard cabinet dimensions (common in pre-1970 Bay Area homes), a custom millwork shop builds to your actual measurements.
9. Swap Out a Swinging Door for a Pocket Door or Barn Door
This one gets overlooked constantly. A standard swinging door into a small kitchen claims 10–15 square feet of swing radius that can’t be used for anything else. A pocket door slides into the wall. A barn door slides along the wall. Either one reclaims that floor area immediately.
Pocket door installation is more involved; it requires opening the wall to install the track hardware, which means drywall work, paint, and potentially an electrical permit if any wiring runs through that wall section. According to This Old House, pocket doors run $1,500–$3,500 installed. Barn doors are simpler to install ($800–$2,000 installed) but require clear wall space alongside the opening for the door to slide into.
10. Use Light, Matte, or Reflective Finishes Strategically
Color and finish choice in a small kitchen affects perceived space more than most homeowners expect. A few principles that hold consistently:
Light colors expand. Off-white, warm cream, pale sage, and soft greige all make a small kitchen feel larger than dark colors do. This applies to cabinets, walls, and ceilings.
Matte finishes reduce glare and visual noise. In a small kitchen where multiple surfaces are close together, matte or satin finishes are easier to live with than high-gloss.
Reflective surfaces add depth. Polished tile, unlacquered brass hardware, and glass cabinet inserts all catch and redirect light, making the space feel more dimensional.
Light ceilings push the eye upward. Painting a small kitchen ceiling the same color as the walls or slightly lighter makes the ceiling feel higher. A dark or contrasting ceiling does the opposite.
These are finish decisions, not structural ones, and they’re reversible. But they should come after the layout and storage decisions are locked in, not before.
Related Reading
Understanding the full cost of a kitchen remodel before you start prevents the budget surprises that derail most projects mid-construction.
Bathroom Remodeling Cost Breakdown for Bay Area Homeowners — The same principles that govern bathroom remodel costs apply to kitchens: permits, labor rates, and custom millwork all affect your final number more than fixture choices do.
Frequently Asked Questions About Small Kitchen Remodeling
What is the cheapest way to remodel a small kitchen?
The most budget-conscious small kitchen remodel focuses on cosmetic changes that don’t require permits or structural work: paint the cabinets, replace the hardware, install peel-and-stick or thin-set tile over existing backsplash tile, and add under-cabinet lighting. In the Bay Area, a focused cosmetic kitchen refresh costs $3,000–$8,000. It won’t fix a bad layout, but it transforms the look of a functional kitchen that just needs updated finishes.
How do I make a small kitchen look bigger?
Use light colors on cabinets and walls, extend cabinetry to ceiling height to draw the eye upward, install under-cabinet lighting to add depth, and replace solid upper cabinet doors with glass inserts or open shelving to reduce visual mass. Removing a swinging door and replacing it with a pocket door also reclaims meaningful floor area. The National Kitchen and Bath Association identifies lighting as consistently the highest-ROI improvement for making a small kitchen feel larger.
Is a small kitchen remodel worth it in the Bay Area?
Yes. Kitchen remodels consistently return 60–80% of their cost at resale nationally. In the Bay Area, where buyers expect high-quality interiors, a well-executed kitchen remodel returns closer to 70–85%, and an outdated kitchen is one of the most commonly cited reasons buyers reduce their offer. Beyond resale, a functional kitchen adds daily value that accumulates over the years of use.
What should I remodel first in a small kitchen?
Start with layout and storage before touching finishes. The sequence that avoids costly corrections: (1) confirm the layout is right, or revise it, (2) resolve cabinetry and storage, (3) address plumbing and electrical, (4) install flooring and tile, (5) add finishes, hardware, and lighting last. Homeowners who choose paint colors and fixtures first frequently find they’re redoing finish decisions after structural or layout changes alter the space.
How much does a small kitchen remodel cost in California?
A small kitchen remodel in the Bay Area costs $18,000–$55,000 depending on scope. A cosmetic-only refresh runs $5,000–$12,000. A mid-range remodel with new cabinets, countertops, tile, and updated appliances runs $20,000–$35,000. A full gut renovation with layout changes, custom millwork, and premium finishes runs $40,000–$70,000. Permit costs add $500–$2,000 depending on the scope of structural, plumbing, or electrical work involved.
Plan Before You Remodel — The Greenport Approach
Most small kitchen remodeling mistakes happen before anyone picks up a tool, in the planning phase, when layout decisions get made without a professional design review, and when permit requirements get discovered mid-project.
Greenport Designs handles the full scope for Bay Area homeowners: design and drafting, planning and permits, construction, and custom millwork. One team from first sketch to final inspection, no coordinating between a designer, a permit expediter, and a general contractor separately.
If you’re planning a small kitchen remodel in San Francisco, Oakland, San Jose, or the surrounding Bay Area, contact Greenport Designs to schedule a consultation and get a clear picture of what your kitchen can become.
Get in Touch
RECENT BLOGS